This Christmas my wife made this incredible antipasto Christmas wreath for our family lunch. The idea is so simple, yet so effective that I really think this is my preferred way of eating antipasto now.

The entire wreath is compiled from individual 16cm skewers, which look like….

Individual antipasto skewers.
INGREDIENTS:
There is no strict list, but all of what we got was at Woolies;
16cm skewers.
Salami (I like the Garlic & Fennel one)
Hot Salami (Sopressa)
Prosciutto / Jarmon
Baby Bocconcini
Little peppers stuffed with feta
Pitted Green olives
Pitted Black olives
Marinated Artichokes
Cherry Tomatoes (halved)
Basil leaves
Cocktail onions
Fresh Rosemary Sprigs (Optional / Garnish).
It’s really up to you what you think would be tasty, but what I noted was that having a mix of items - salty, tart, fresh, different meats

METHOD (constructing skewers):
This is fairly obvious, but you set up all your ingredients and start shoving them onto skewers.
We found that it’s good to place stronger/firmer items at the base and top of the skewer to ensure it all stays constructed (note: it’s usually a green olive or a cherry tomato).
You can mix up the combos, we tended to have two meats on eat skewer. Note, this can be made vegetarian/vegan friendly by just selecting appropriate ingredients.
METHOD (constructing the wreath);
On a large white square or round platter, carefully place individual skewers in a circle (wreath) shape.
We started with a hexagon, and then kept overlapping
Garnish with fresh rosemary sprigs
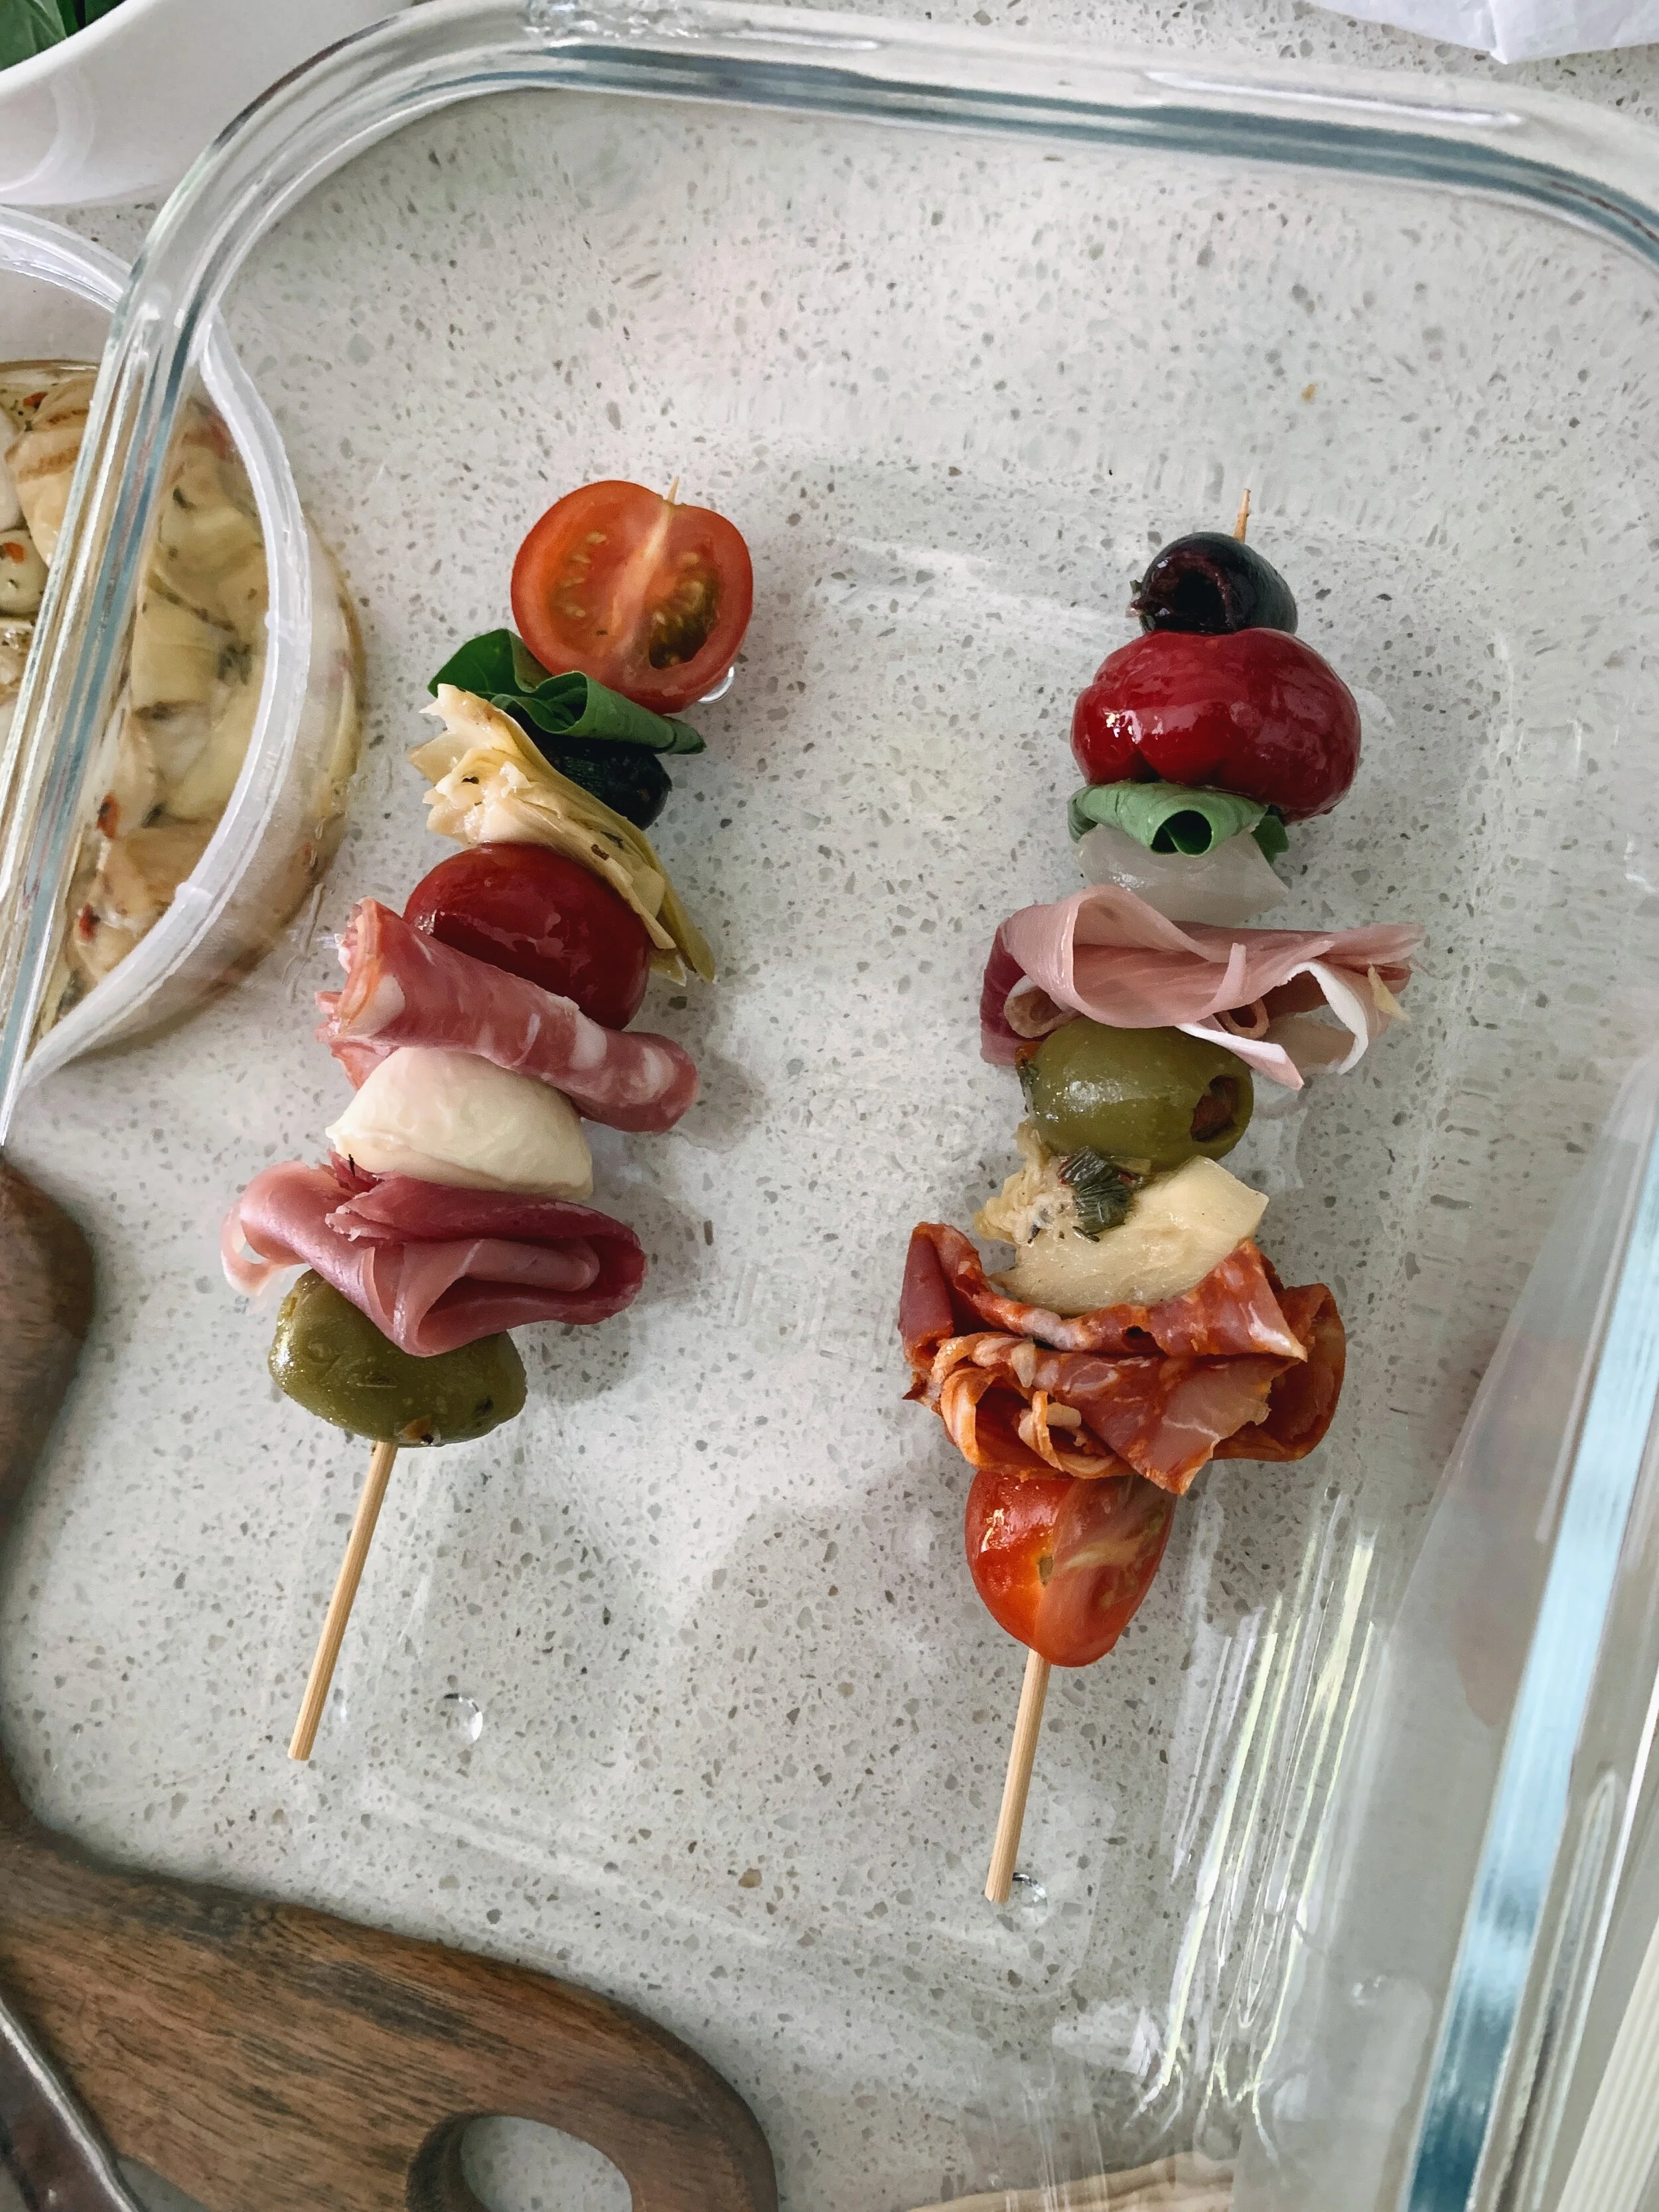
An example of what two different skewers look like
Bonus: You can use these skewers for a great picnic!
We had leftover components after Christmas and brought along the skewers to a picnic.